the "special" motorcycle project thumbnails
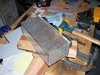
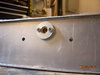
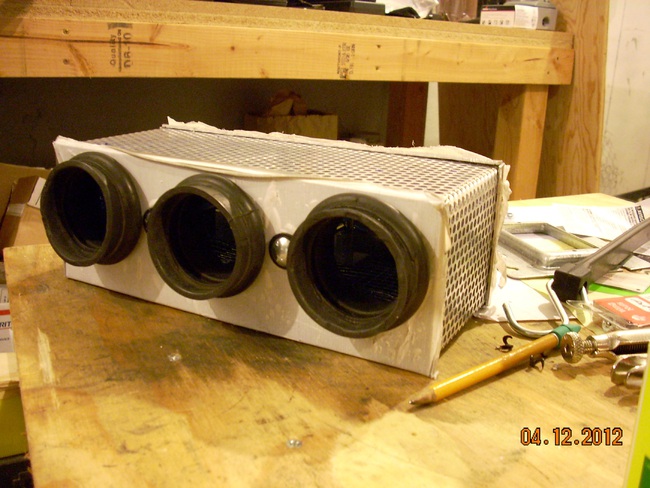
2/20/2011: started working on an attempt to build a henry abe/breadbox air
filter...
|
 the outline the outline
|
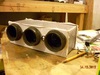
 the front view the front view
|
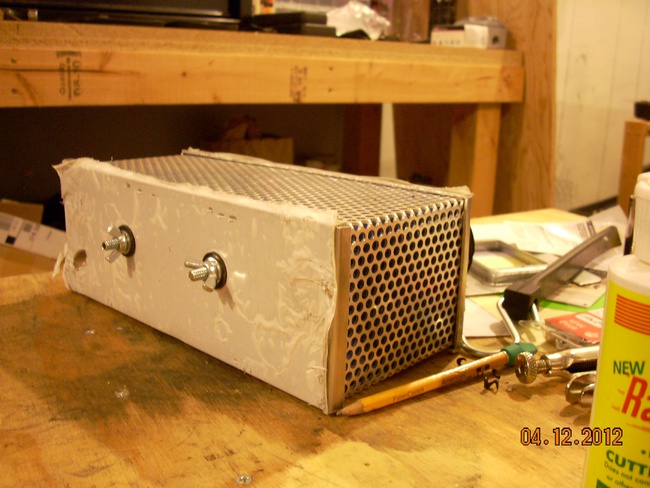
 the back view the back view
|
 fits darn near on! fits darn near on!
|
| |
 test fit works! test fit works!
|
 another view (and another) another view (and another)
|
 the screen the screen
|

|
| |
|
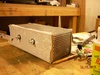
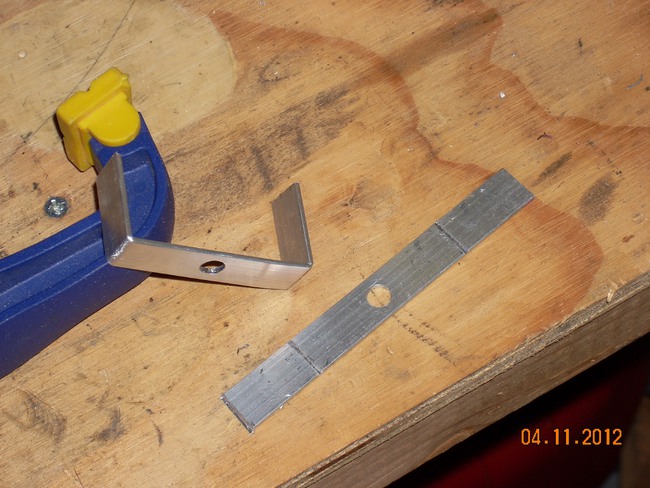
Update 4/11/2012: i've slowly been working on this and haven't updated anything, so here are a few
more shots. the back cover fits and i have the first screen holders created. turns out they don't fit 100%
though... when everything is closed up the bottoms are about a 1/4" high since the holes aren't centered (i
always forget stuff like that...). luckily they don't take that long to make...
why holders/supports/things? i can't find the
link, but people on the triples forum have talked about the vacuum created during accelleration. the vacuum is strong
enough that the filter can be pulled down and maybe even sucked into the carb a bit. the holders are needed
because even if the filter were not sucked into the carb, it would not spring back into place and the air would
not be filtered anymore. this solves two problems. that's the way i understand it anyway...
|
|
|

|
|
| |
|
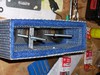
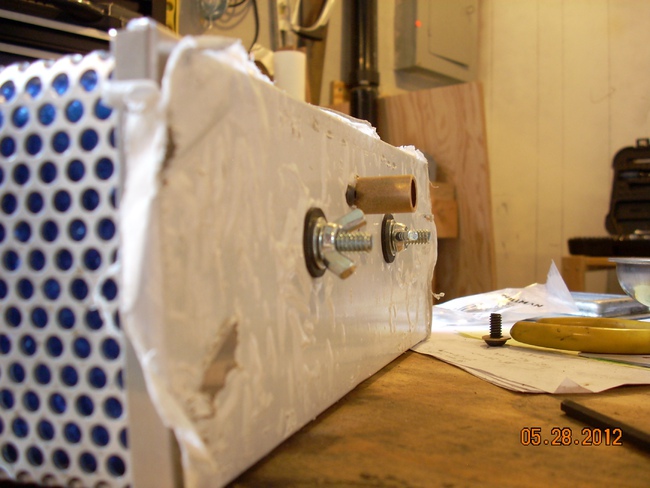
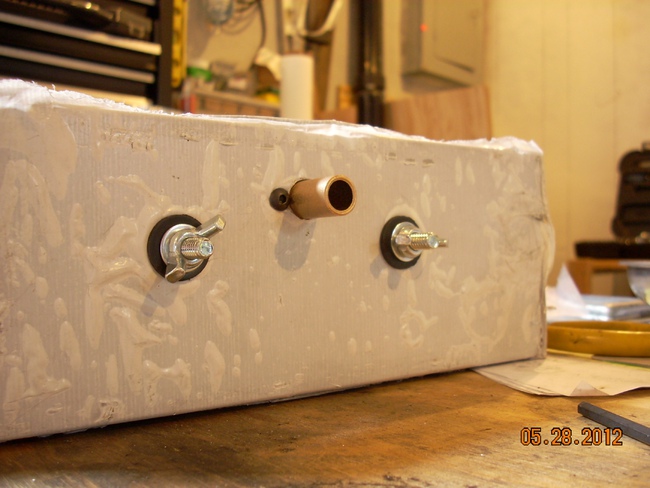
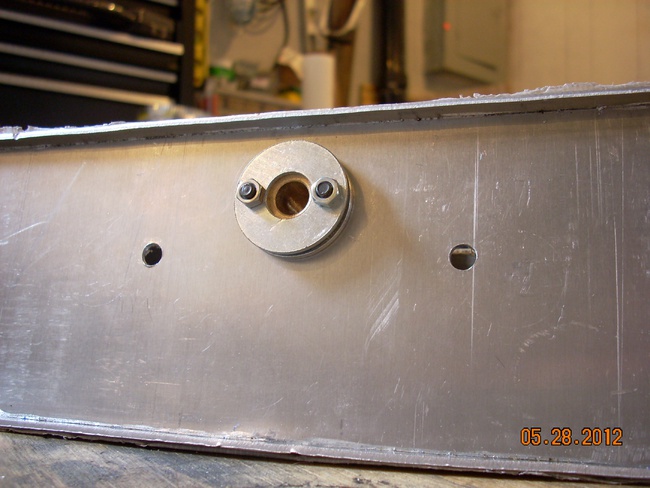
Update 5/28/2012: the air duct that will connect the same way as the original air box
is finally in. the tube-name-i-can't-remember, two bolts and two washers did the trick. now
i just need to figure out how to route the hose...
|

|

|
|

|
|
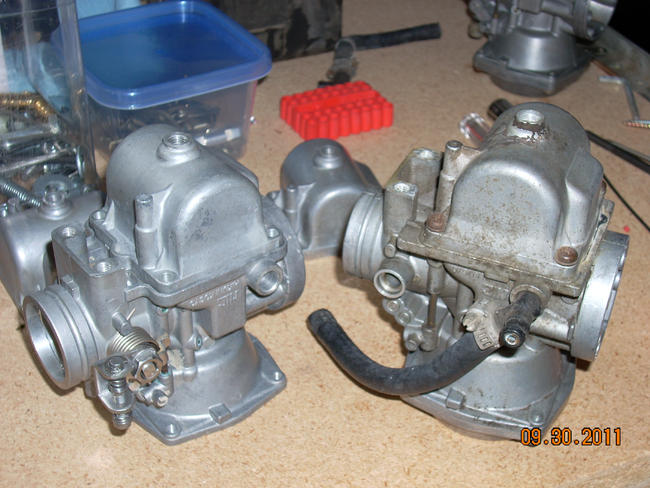
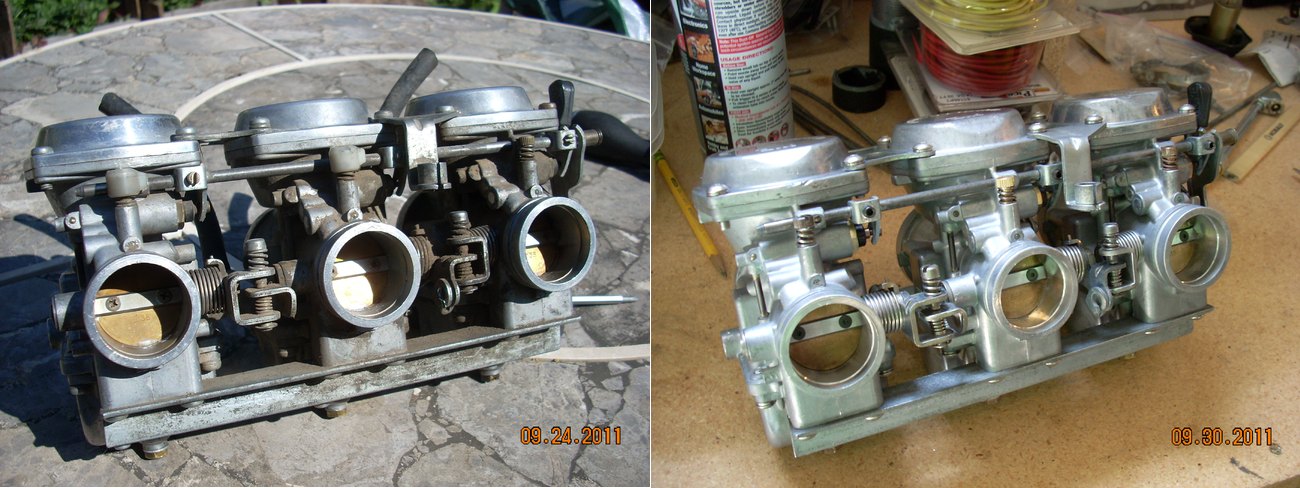
9/30/2011: after doing some reading at the
triples forum i decided to use pine sol when
cleaning this carburator. i let the pieces sit for four days and wow, the pictures do not
do it justice! the cleanup is amazing and i had to do very little scrubbing to get the
dirt off.
there are also pictures of the "butterfly tool". when changing the butterfly valve seals
i've found that they do not want to budge. and, because they are a very soft metal, deform
very easy. but! if you whack the screwdriver a few good times with a hammer they twist out
very easy and could be very reusable. however, once the piece that holds the valve was bent and
i am afraid it is because i whacked it a bit to hard. so, i created this tool to help mitigate it
and keep the rod from bending. seems to have worked this time when i used the tool, so
fingers crossed...
|
|
|
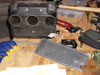
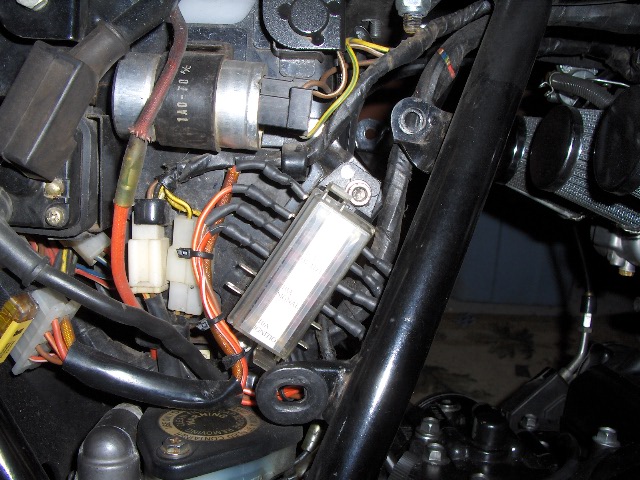
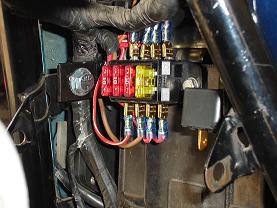
10/2/2011: i bought a
centech fuse box
to stick on my bike, but they are too tall to fit under the seat! i couldn't really
figure out a good place to relocate it too, so i have attempted to build a box
(basically from scratch) that does fit under the seat.
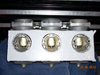
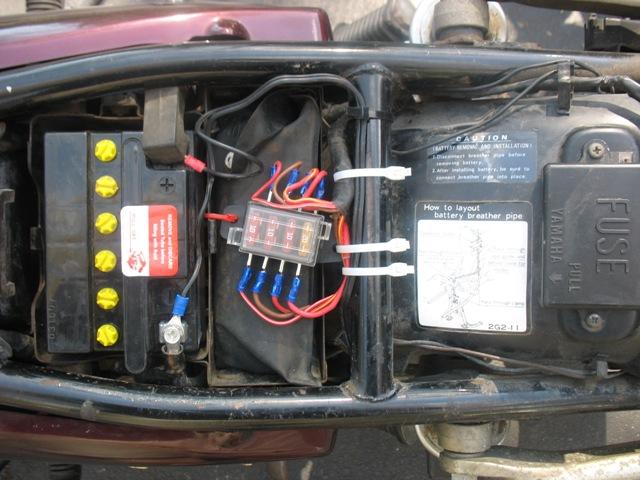
it is an aluminum box from
deltron
and is 80 x 25 mm (part number 459-0140). the fuses used are the
low profile mini fuse and the sockets are
keystone
part number 3557-2. the wire is all 14 gauge solid color (even though some on the bike is not). i basically could not
find striped wire so i took the solid color approach: red = red, red/white = white, red/yellow = yellow and brown = brown.
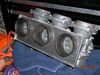
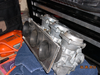
most of the difficulty was figuring out how to jimmy everything in so it would fit and the seat would close.
|
everything tested out: the headlights came on, the turn signals worked and it turned over (the bike is still
in too many pieces to actually start yet). so, we'll see how this works. one of these days i may have to remove
the connector between the fuse box and main loom and just shrink wrap them together. the seat closes fine, but
after a ride or two we'll know for sure... fingers crossed...
|
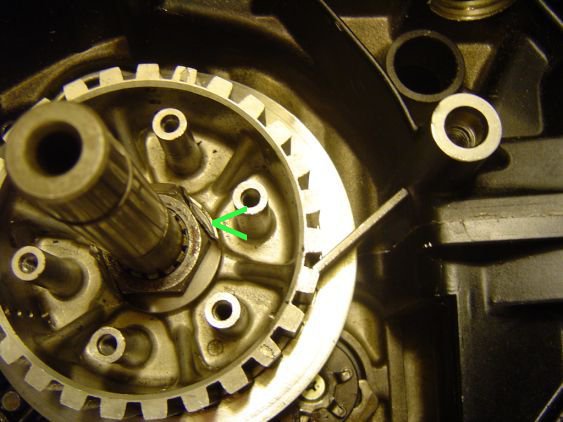
9/14/2011: in an attempt to take things out of the equation, i wanted to rebuild
the starter. getting it out was less than easy, as it seems just a bit too long. and
getting it in was a trick. turns out that despite just about every form of yamaha xs known
to man in the 70s and 80s used the same starter, it was just the starter motor. the gear
on the end could be different! let's just say it's a lot easier to get the starter in
when the correct gear is on.
|
|
|
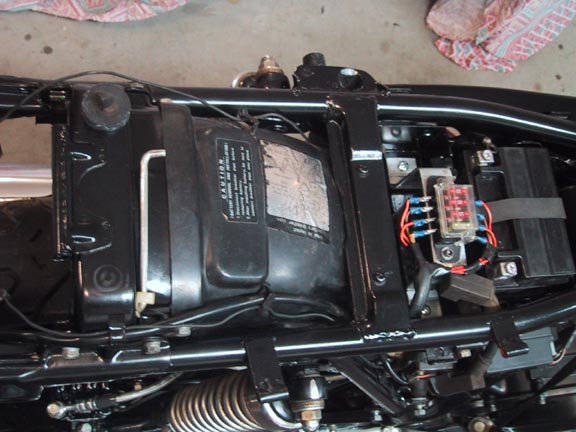
9/6/2011: when working through the layshaft bolt the alternator had to be removed.
let's just say a bit of an electrical mess was found due to the battery's tube becoming
disconnected, the plastic connectors being brittle and the old fuse box probably not
being replaced in a long term way...
|
|
|
|
Update 9/14/2011:
over a long weekend i started to rewire the fuse box. the box itself
didn't come in, so i just got the first half done...
|
Update 9/16/2011:
the fuse boxes from
centech
are great, but too high and don't fit under the seat! so, while i ponder where to put them
i came up with a temporary solution that may be long term...
here are a few ideas from the
yamaha-triples.org: the
right side,
tool box one and
two and on the
battery box.
|
|
|
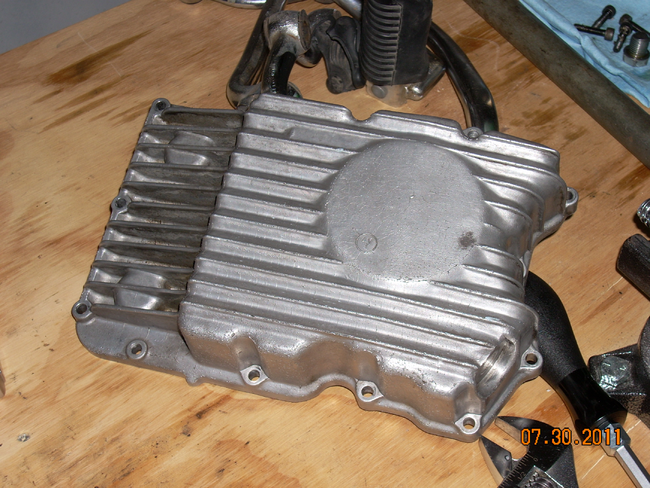
7/30/2011: before reattaching the oil pan i wanted to clean it up. i let it soak
it hot water and dish soap for a couple hours and then, with a bit of scrubbing, it
cleaned up right nice. <g>
|
|
|
|
 the outline
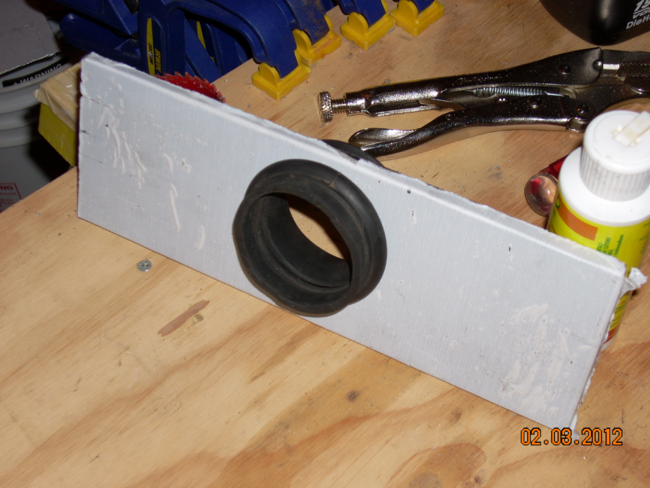 the front view
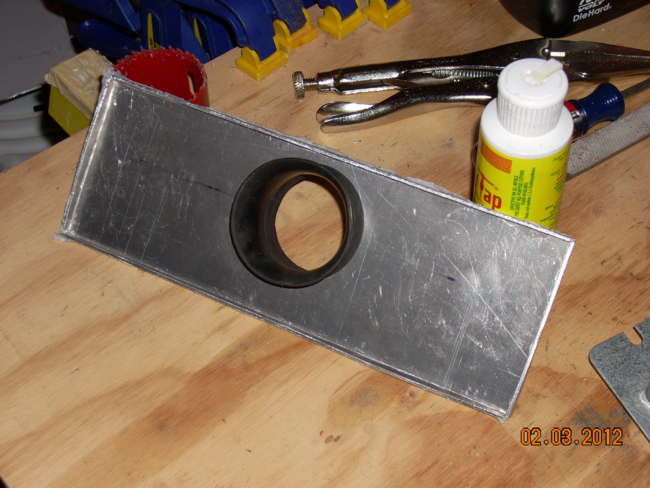 the back view
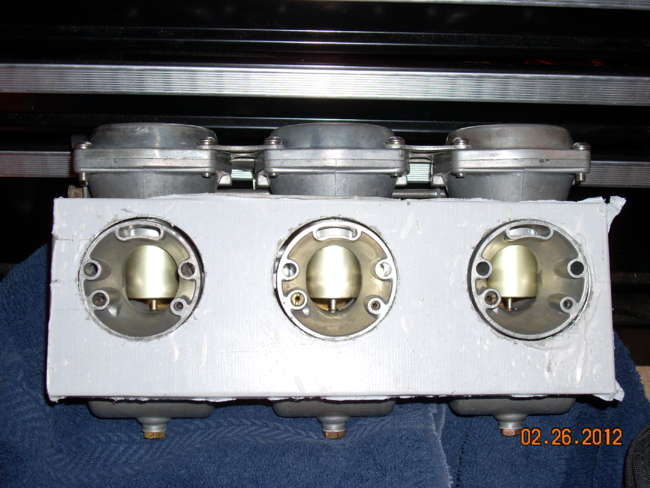 fits darn near on!
 test fit works!
 another view
  the screen

 dirty!
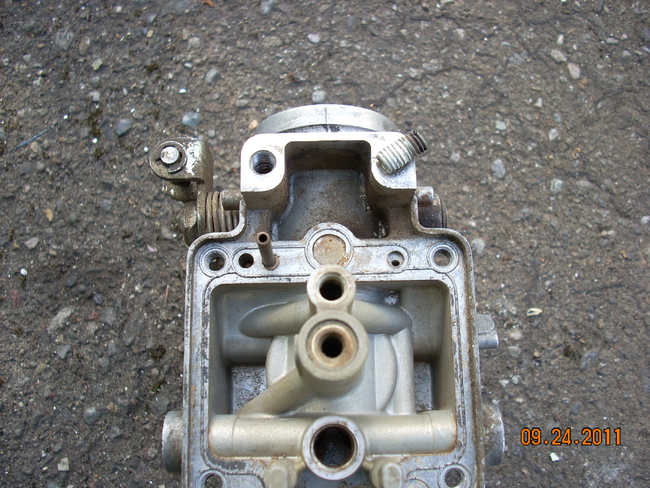 screw w/broken head removed
 the butterfly tool
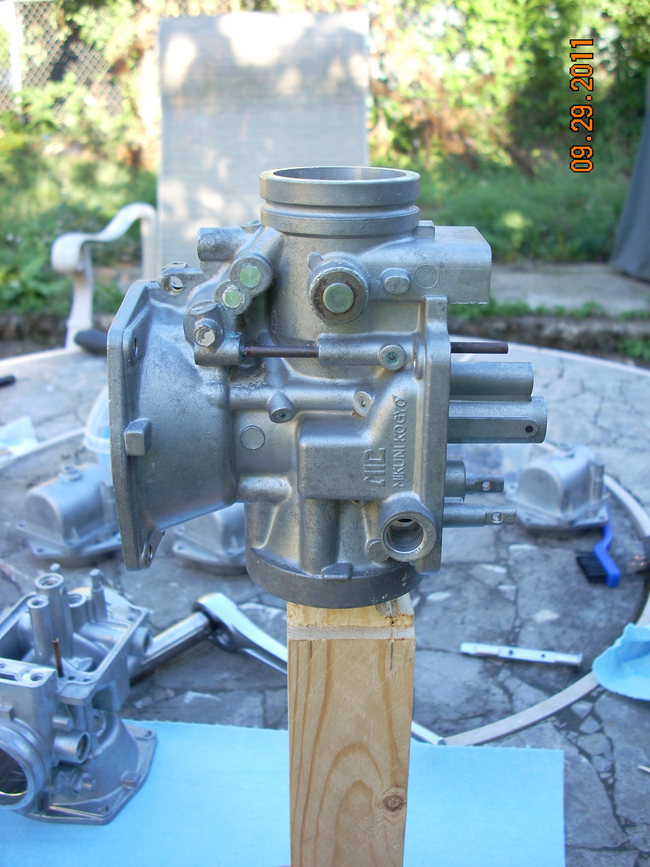 the tool in use
 looks pretty darn clean
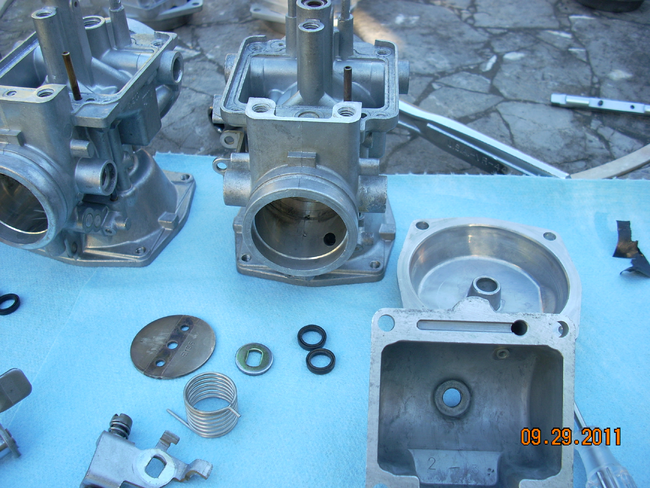

 clean vs. dirty
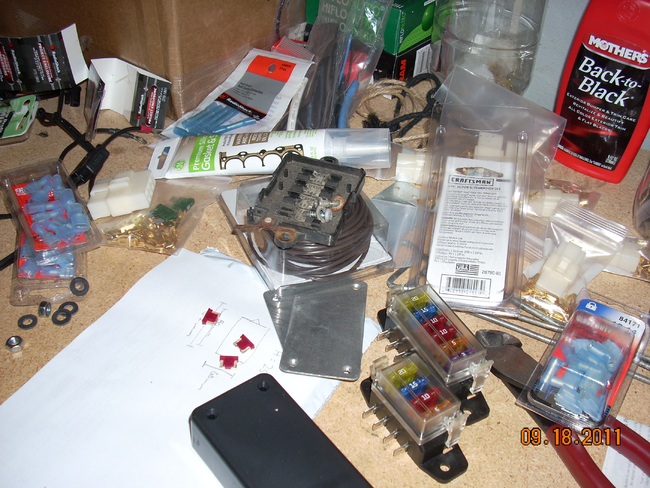 a bunch of pieces
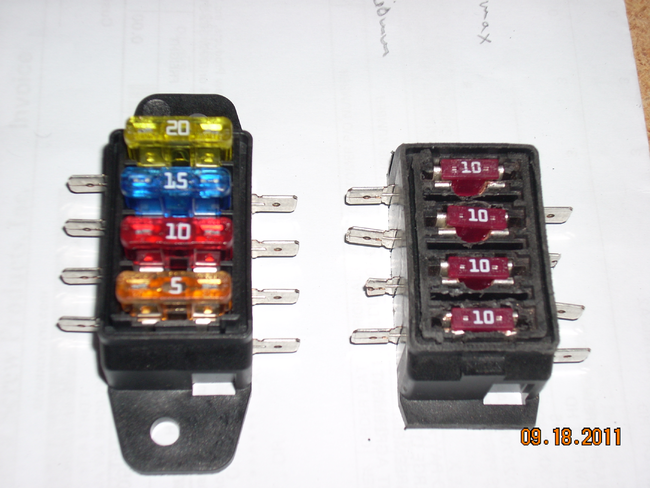 centech and the prototype
 prototype w/box
 prototype in box
 finished prototype
 learned a lot...
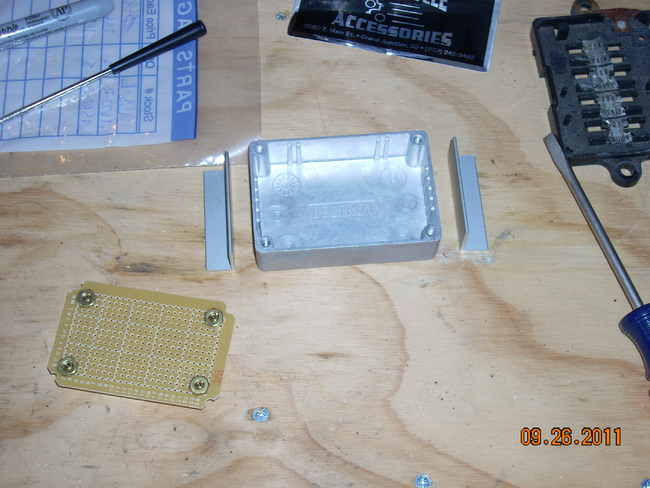 board and box w/flanges
 first layout
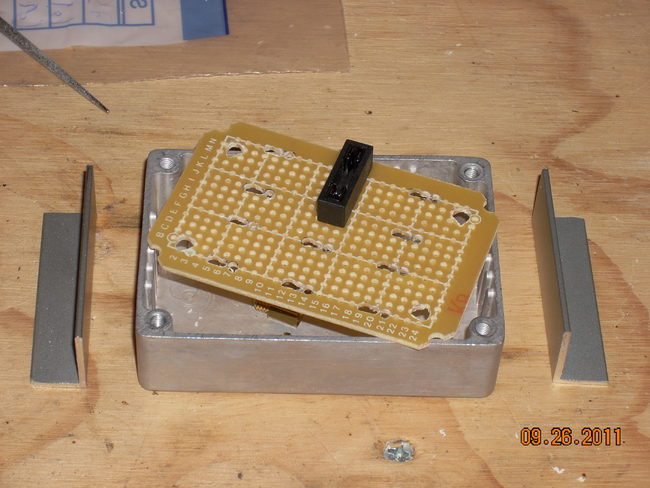 cutout and socket fit
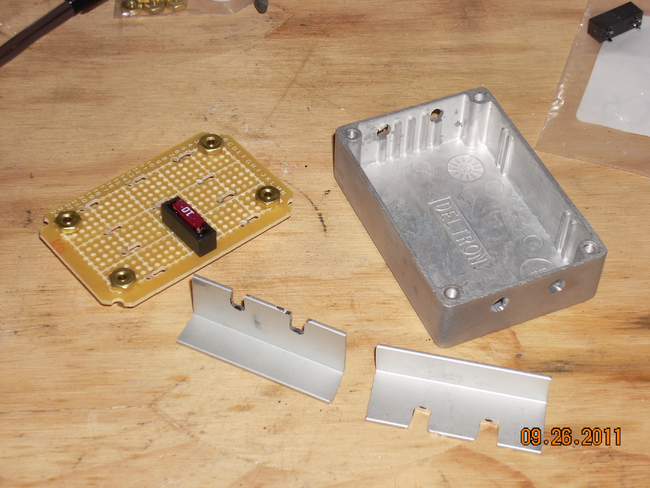 first flanges
 test fit!
 board fits in box!
 wire test fit, grrrr...
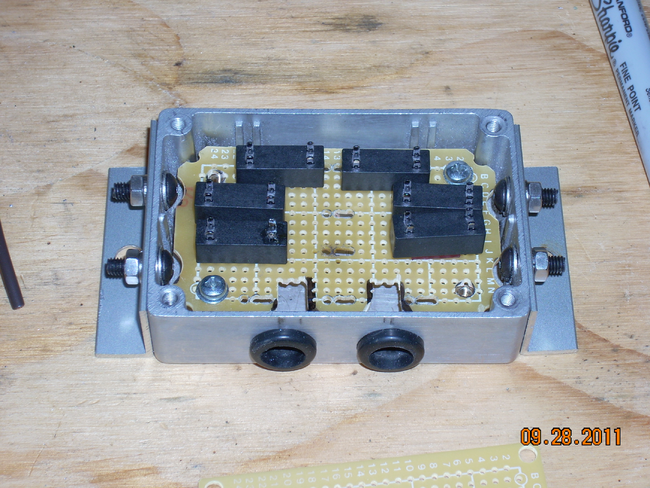 new board layout
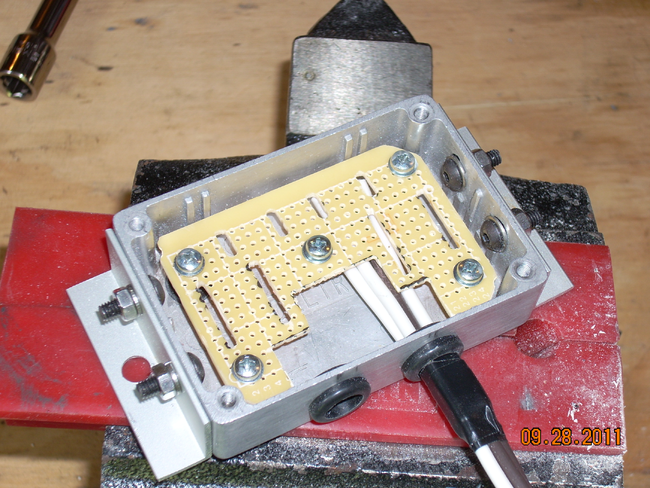 new wire test fit. YAY!!!
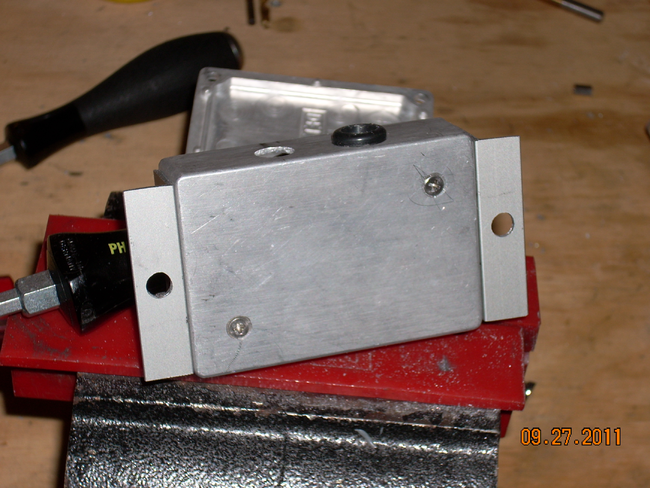 mounted the standoffs
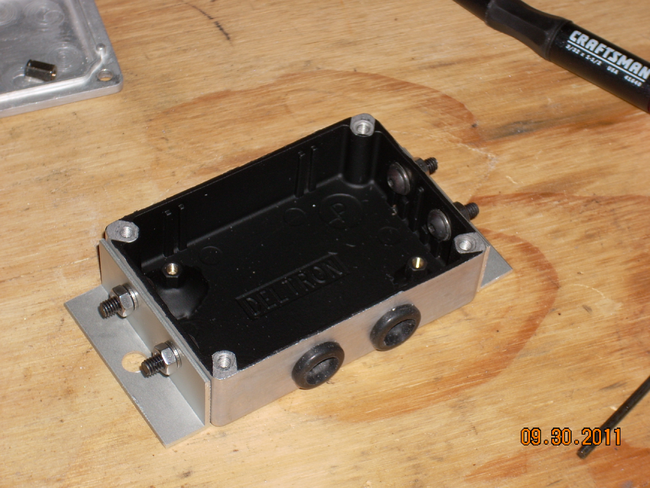 painted the inside, hopefully no shorts
 soldered on...
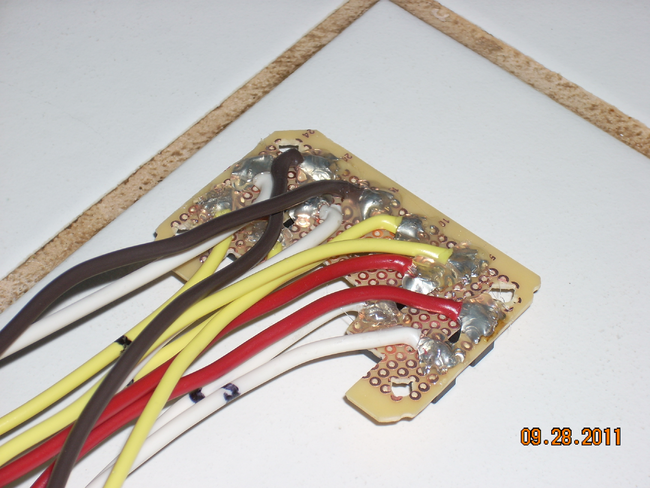 ...with hot glue! hopefully to prevent things...
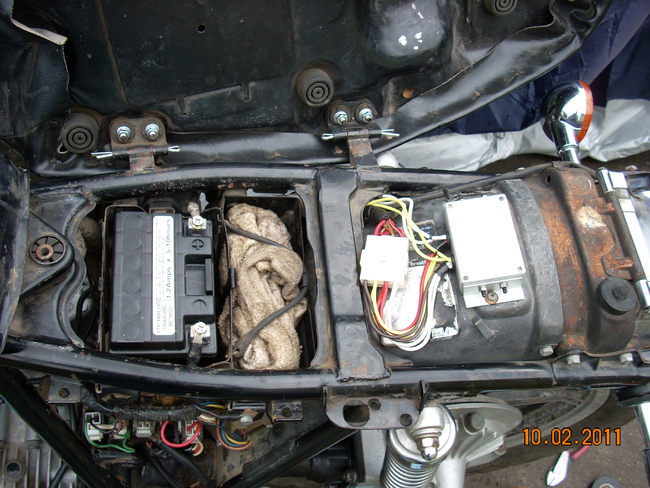 it's mounted!
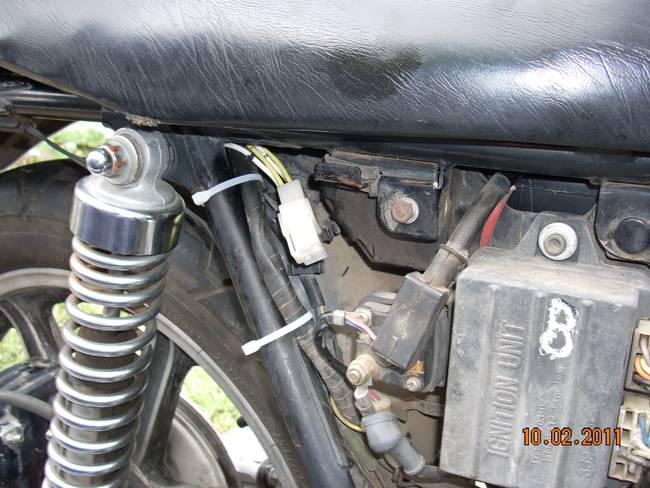 the extra hookup
 open with notes...
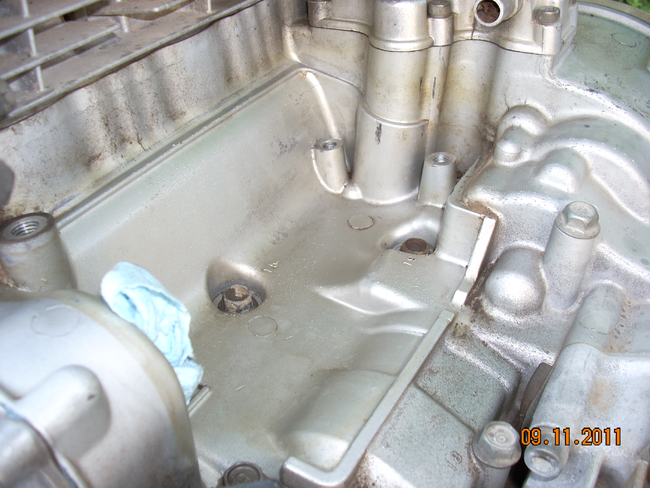 forgot the dirty shot
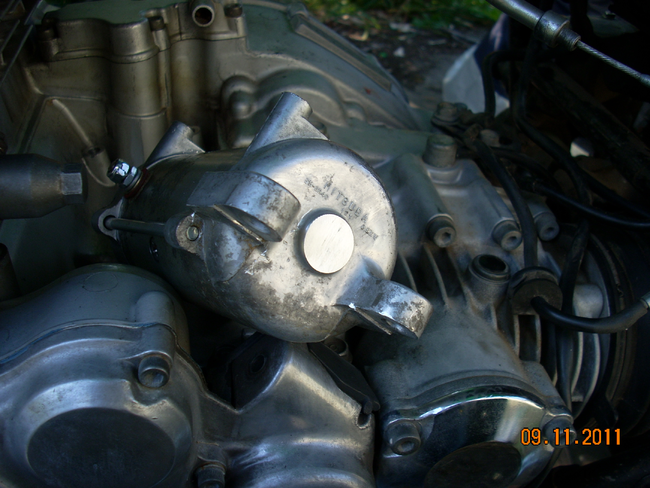 filing off a bit helped
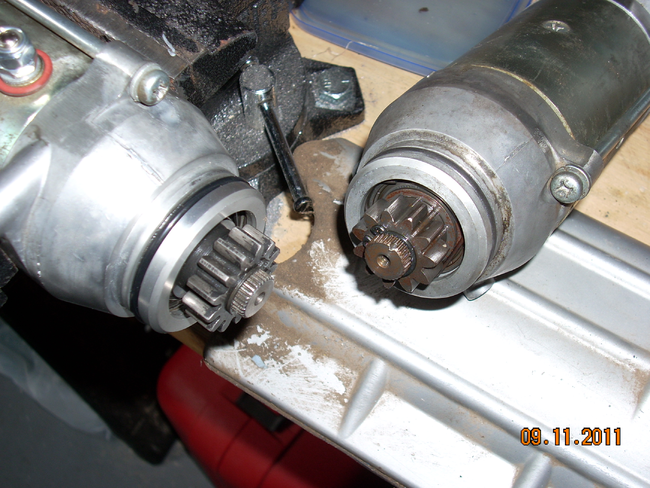 divent, but look!
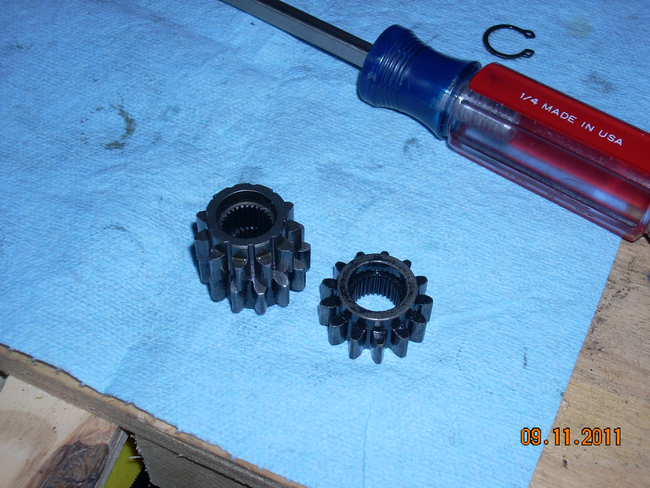 yup, the gears differ
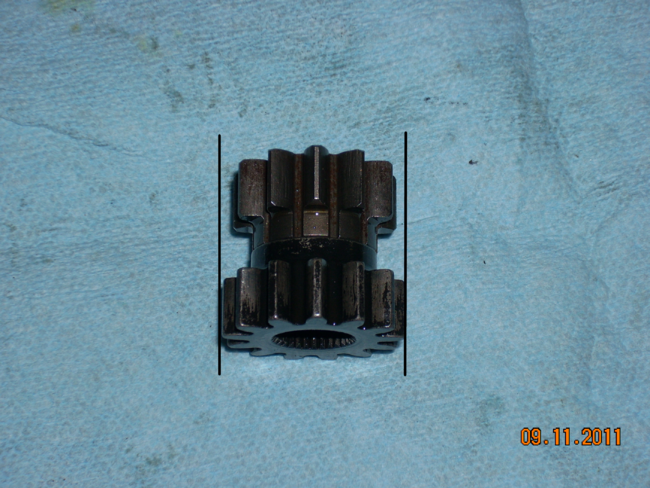 just a bit!
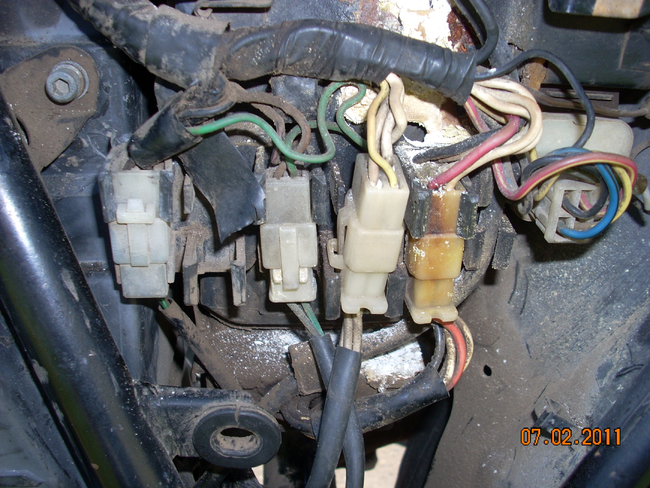 batter acid!
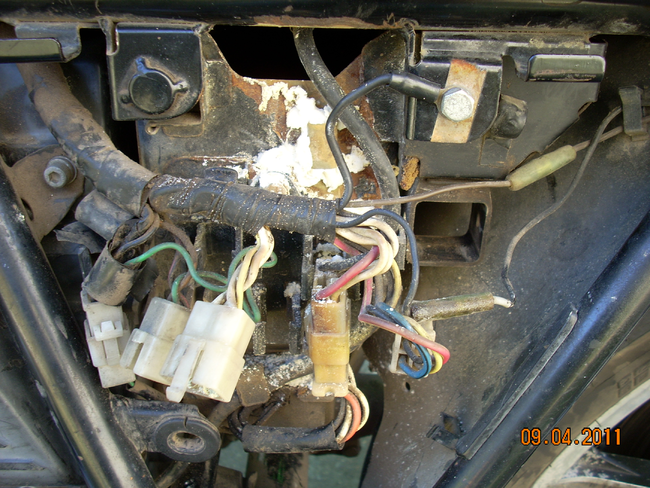 yay!
yay! ...everywhere...
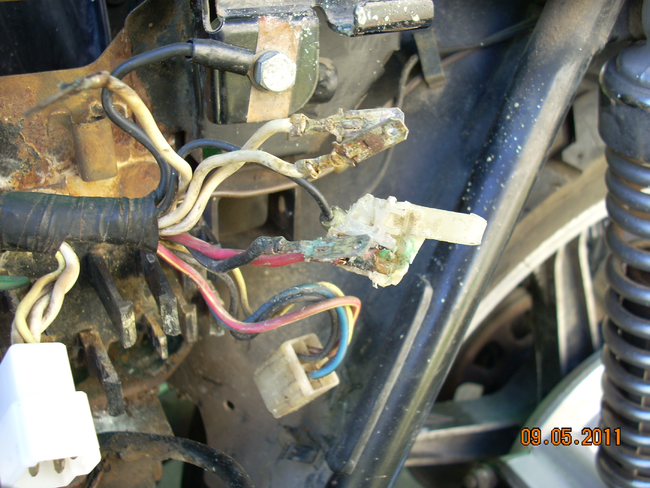 one unsalvagable
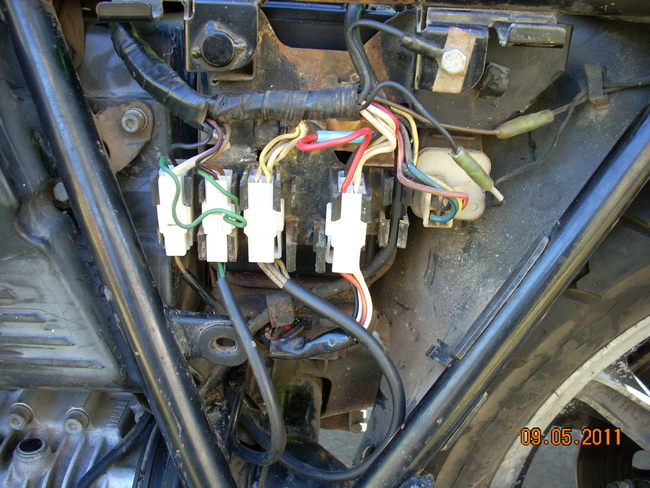 cleaned up
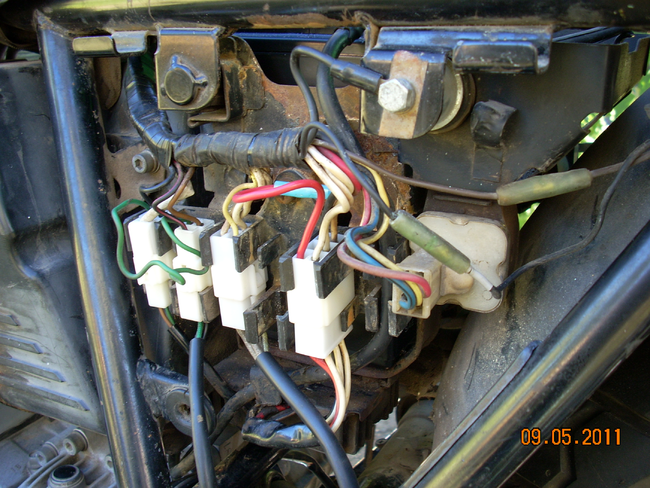 ...nicely!
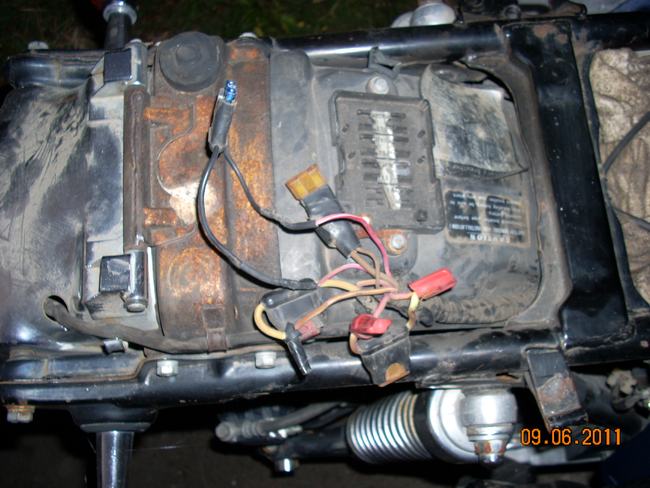 all 4 fuses
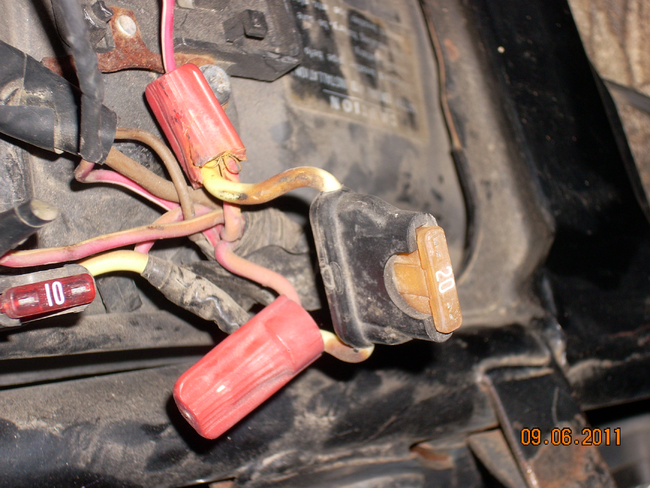 up close...
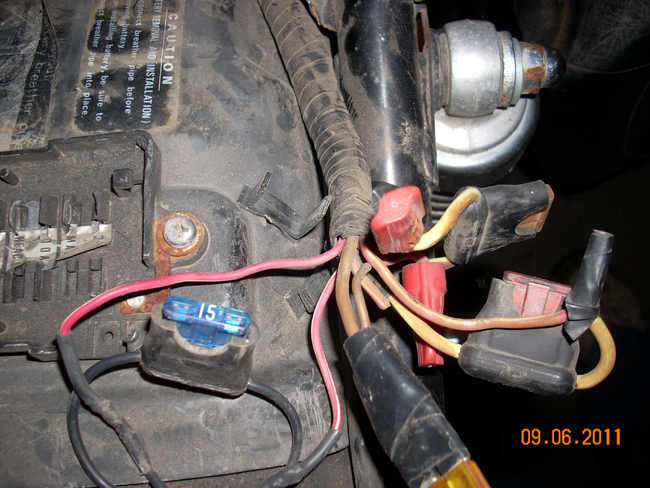 up close...
 inside...
 hopefully it'll work better...
 the tmp "block"
 hopefully it'll fit...
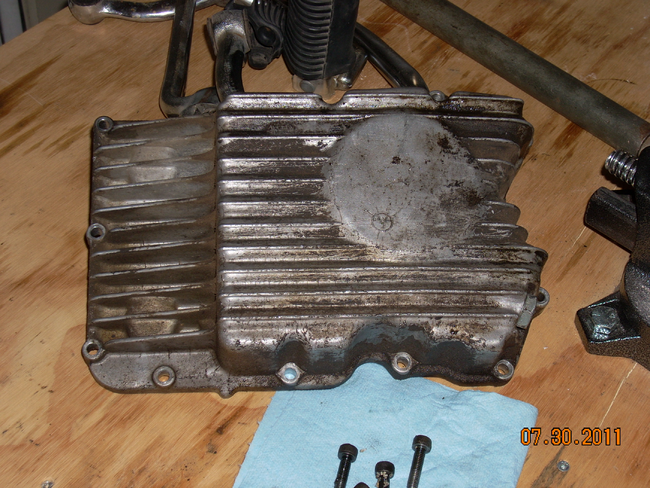


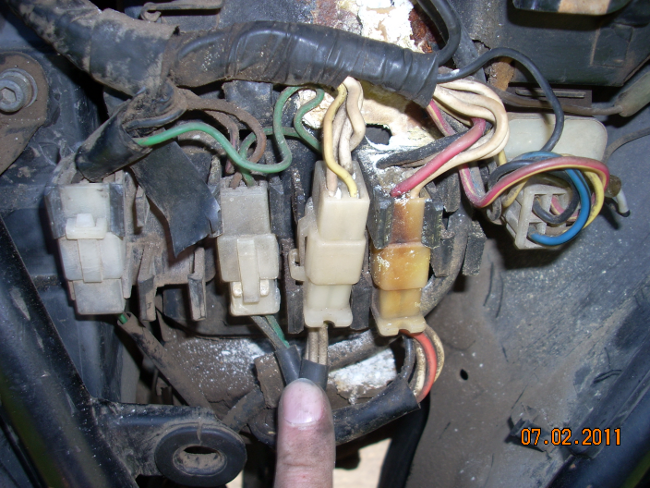 alternator connections
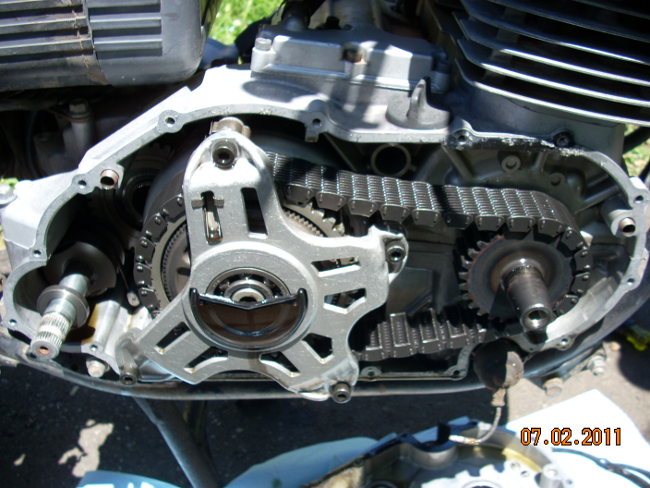 crankcase cover removed
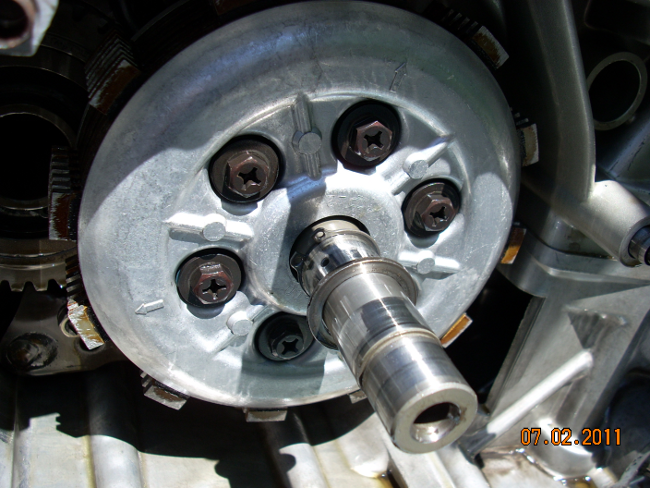 pressure plate
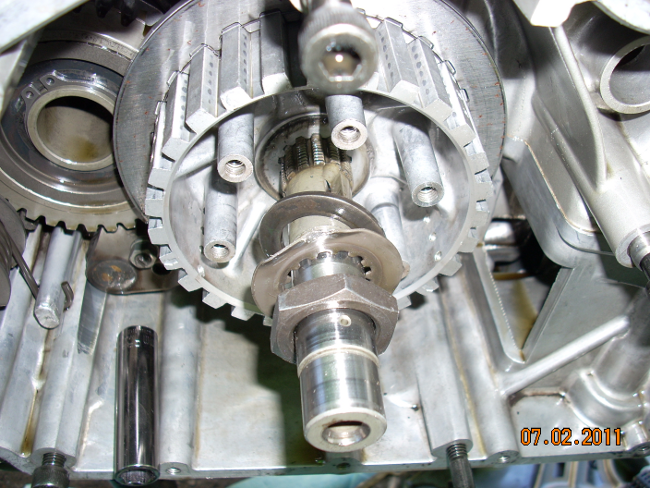 the 32mm nut
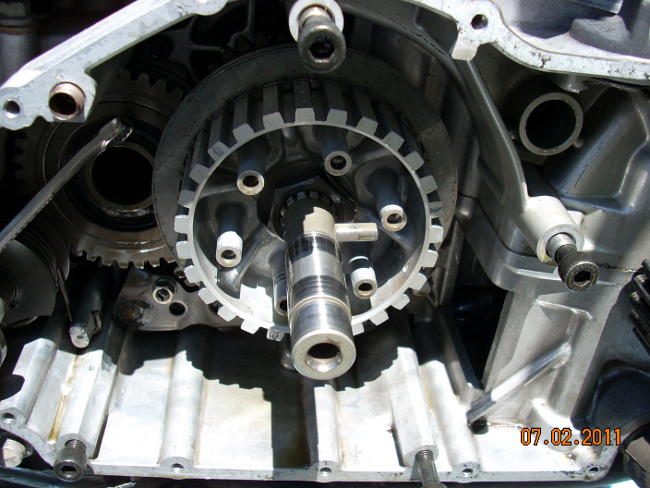 pushrod crossbar
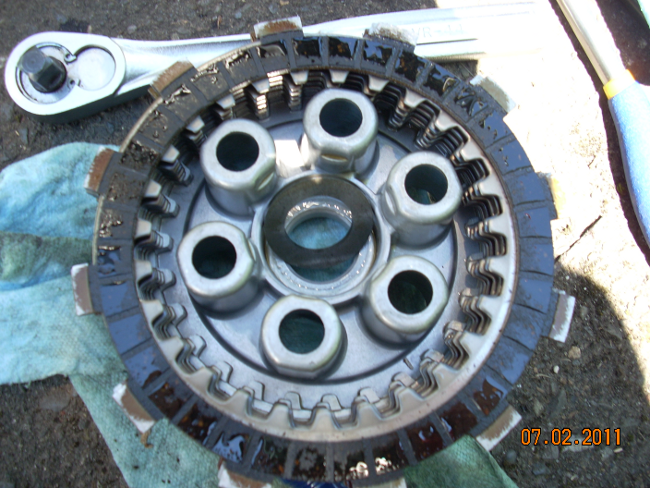 pressure plate and disks
 the clutch fingers
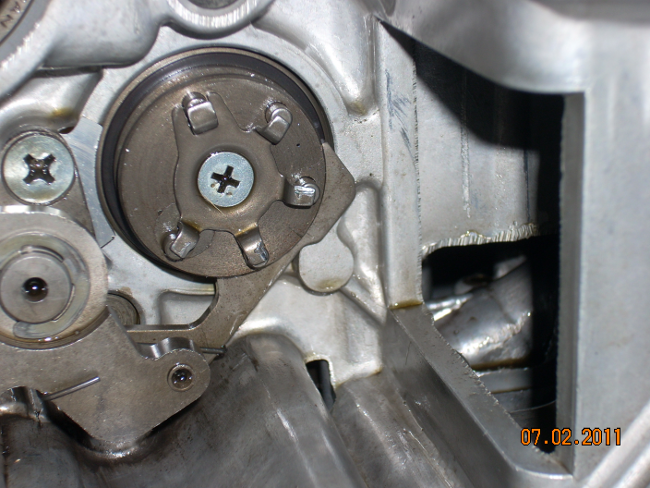 the shift cam
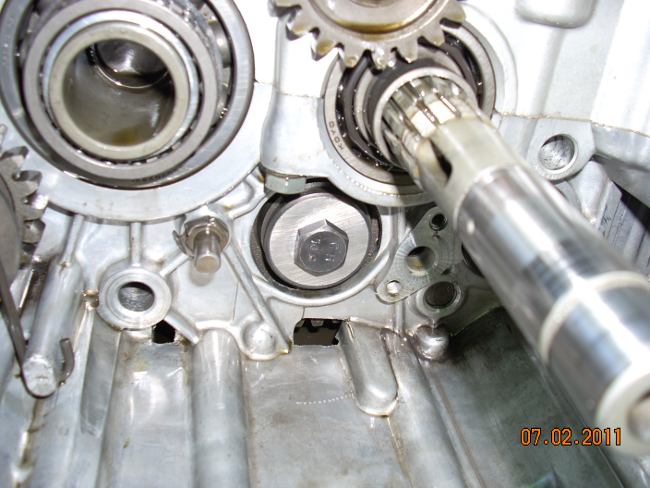 the new layshaft bolt
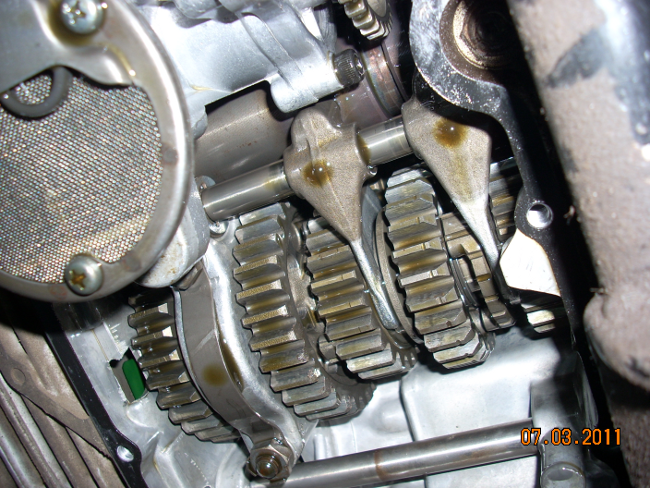 the transmission
 the transmission
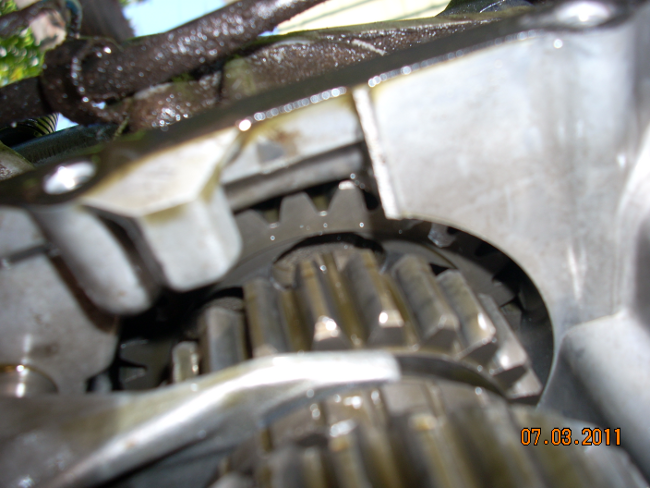 the dogs aligned
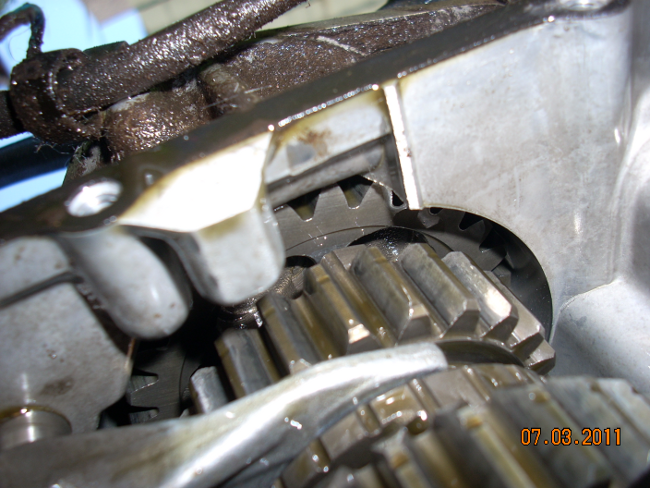 dogs misaligned
 the alternator plugs
 a bit dirty!
 baking soda and battery acid!
 the pieces