2/2012: here are some shots of the freezer being converted to a
keezer with a few
notes and things sprinkled in. most of the ideas for the collar came
from homebrewtalk.com,
this picture,
the billybrew.com how-to
and bbum's make: kegerator!.
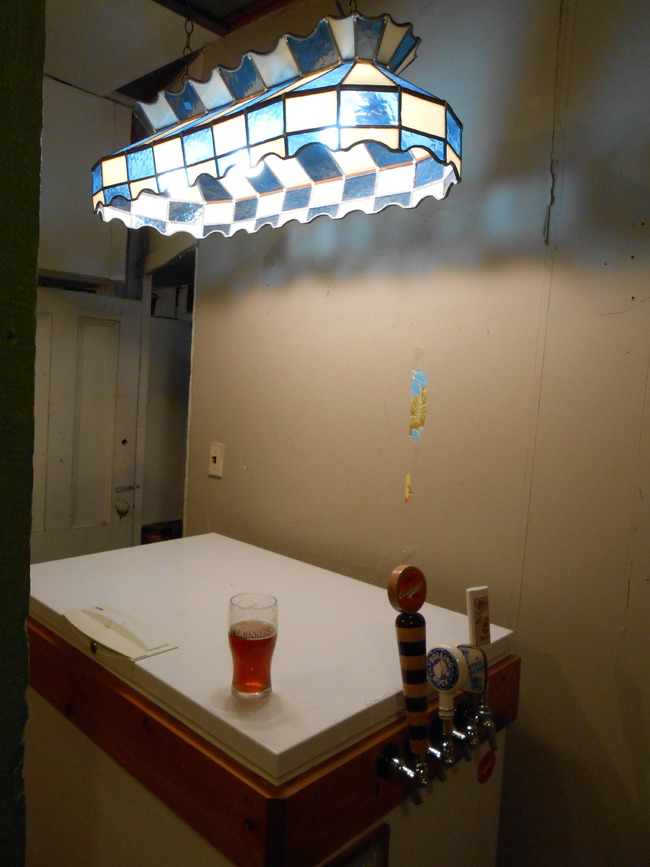
the first piece to be built was the collar. for me it was a bit of a chore
to get things sized right so it would sit fairly level and not rock back and
forth. after getting it together i drilled four holes for the taps, stained
it and padded the side that would sit on top of the freezer so it would make
a good seal.
|
|
|
then i read the thermostat in the freezer really wouldn't work and one of the best options is the
ranco etc 111000.
and, if you wire it yourself, it's a bit cheaper! so, instead of one cord in and one cord out i decided
to make it four-plug capable.
then i decided i had to get a chalkboard. the local crafts store had one for $3.50! i stained it and it turned out
not so bad!
|
|
|
a fan inside is really suppose to help the converted freezer cool faster. makes sense too.
afterall, the fridge we bought last year blows cold air instead of just cooling the sidewalls.
and, the last homebrew batch i made cooled a heck of a lot faster when stirred...
|
|
|
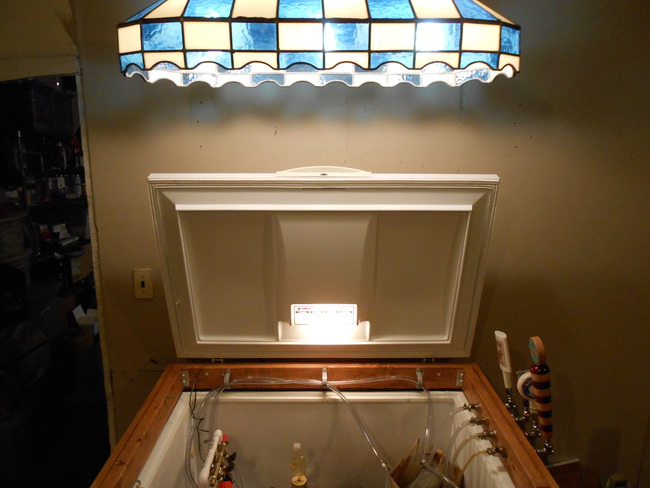
after starting to fill it up a bit i realized i wanted to run the co2 hoses
through something in an attempt to keep them out of the way. pvc mounting
rings worked great for this. i also built a little "structure" from 1/2 inch
pvc so that things like the 3-way co2 splitter and fan could be mounted to
something. it's hiding, but the thermometer from the ranco is there too,
hanging off the back. it's working good so far... <g>
after i loaded everything in, i started wondering how long it would be before
i knocked the co2 tank over. should i put it on the floor? would it fall
over anyway? now what? after many ideas and not finding anything useful at
lowes that we were looking for the winning answer hit: one hook and four feet
of rope with a loop tied at each end! it works wonders!
|
|
|


